There is nothing I love more than turning something lost and redundant into something useful again. It’s incredibly satisfying. When I entered Hillary’s Craft Competition I had mentally planned to use the metre of gorgeous Daisy Pistachio fabric to make some cushion covers for my office chair or maybe a padded seat. I complain enough about the wooden monstrosity I might as well make it beautiful. However I had a flash of inspiration (code for an easier idea!) instead opting to turn a plain old cardboard box (which I was going to pop in the recycling bin) into somewhere to store my ever growing collection of office stationery, pens, pencils, notebooks and diaries that pile up on my desk. (Houston we may need a bigger box!)
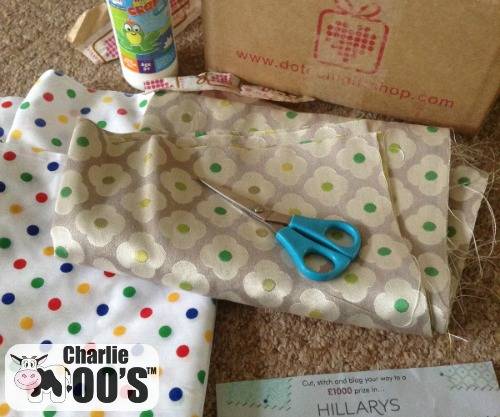
I am a bit of a doer, bodging bits together and crossing my fingers it works, therefore if you find my instructions hard to follow there are plenty of tutorials on Pinterest showing you how to cover a box in fabric. I also like the tutorials for covering with rope which gives the boxes a high end nautical look. 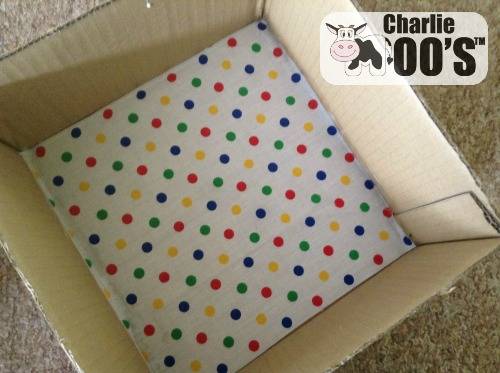
I used a thin fabric to cover the inside this was pretty easy. I cut 5 pieces one to fit the bottom and 4 for the sides. Using Rust-Oleum low tack adhesive I sprayed the box and smoothed the fabric over. I used PVA glue in the corners. I started with the bottom of the box then the sides. For the sides I cut the fabric just a bit longer than the box, folding it over the edge and using PVA to glue it in place.

I left this to dry over night then started on the outside. The piece of Hillary’s fabric was a lot thicker than the spotty one from my Charlie Moo’s stash so I fired up the hot glue gun for this. For the first side I started by using the PVA to glue the fabric to the bottom of the box. I then pulled it tight and folded it over the rim and back into the box, using the hot glue to hold the fabric down and give nice crisp corners. I repeated this on the opposite side. Then turned the box upside down and folded the corners over and hot glued these down. 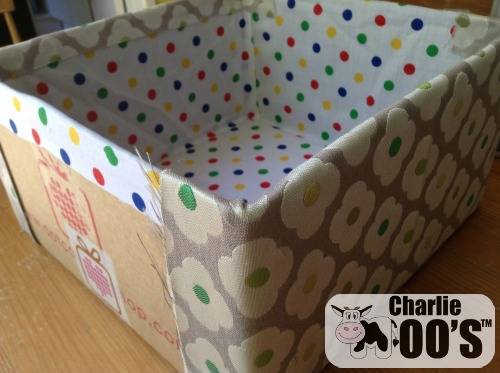
The Hillary’s fabric frayed so much it which was starting to get stuck in the glue and look really messy. I decided the best way to combat this was to sew a seem on the last 2 pieces and ensure they fit the sides exactly with no overlay. 
I glued the bottom down with PVA pulled it tight and then hot glued the fold over inside. Sewing the fabric gave it a crisp clean line, which blends nicely giving the box a polished finish. 
All that’s left to do now is fill it with all my home office stationery odds and ends.
This tutorial originally appeared on Charlie Moo’s June 2015 , I still use this storage box today.
This was my entry into the Hillary’s Craft Competition 2015 and complies with my Disclosure Policy.
Found this useful wondering how you can show me your appreciation? Well, there are some ways you can say thanks and support my website: ➡
I love this! Shame that the Hillary’s fabric frayed so much. The result looks great though and such a great investment since you still use it 3 years later. #lemurlinkup
Wow that’s what I need to make my office more beautiful!